Prism Demo
Sistemi Lente/Prism programs are deployed as Docker containers, which allows the programs to run in a virtual environment, and be independent of your host operating system. This means, for example, that you don’t have to worry about python packages, versions of modules, etc..
This is the program that production operators would use, interfaces with test equipment and the Device Under Test (DUT)
Requirements
Operating System
The system was developed and tested on Ubuntu 22.04
All these instructions are for Ubuntu 22.04
The Docker Prism image is based on Ubuntu 22.04
Outside Software Requirements
Google Chrome browser (other browsers are not tested)
install Docker CE (https://docs.docker.com/install/linux/docker-ce/ubuntu/)
Several instillation methods are described. The “convenience script” works well.
curl -fsSL https://get.docker.com -o get-docker.sh
sudo sh get-docker.sh
Don’t miss the step of adding the current user (its well hidden in their instructions)
sudo usermod -aG docker ${USER}
reboot Ubuntu
install additional packages
sudo apt update
sudo apt install git build-essential python3-dev
Clone Sistemi Scripts
There is a prescriptive directory structure to use, and that is stored on github in a project called
scriptsThis github repo is where you would ultimately store and version control your own scripts
To make the repo your own, instead of cloning the repo, you would fork (copy) it, making it your own, and then add your own code
The instructions below will create a folder called git/scripts which git will copy the required files into
Clone
scriptsand install Python requirements,
mkdir ~/git
cd ~/git
git clone https://github.com/sistemicorp/scripts.git
cd scripts
pip3 install -f requirements.txt
The Prism Docker container must be pulled from docker hub
run this pull command to check for updates to Prism
docker pull sistemicorp/prism
Run Prism
cd ~/git/scripts/public
./prism.sh --server=none --restart=no start
Open Google Chrome to
Do Not use the browser BACK button, always use the page controls for navigation
The Prism landing page should appear,
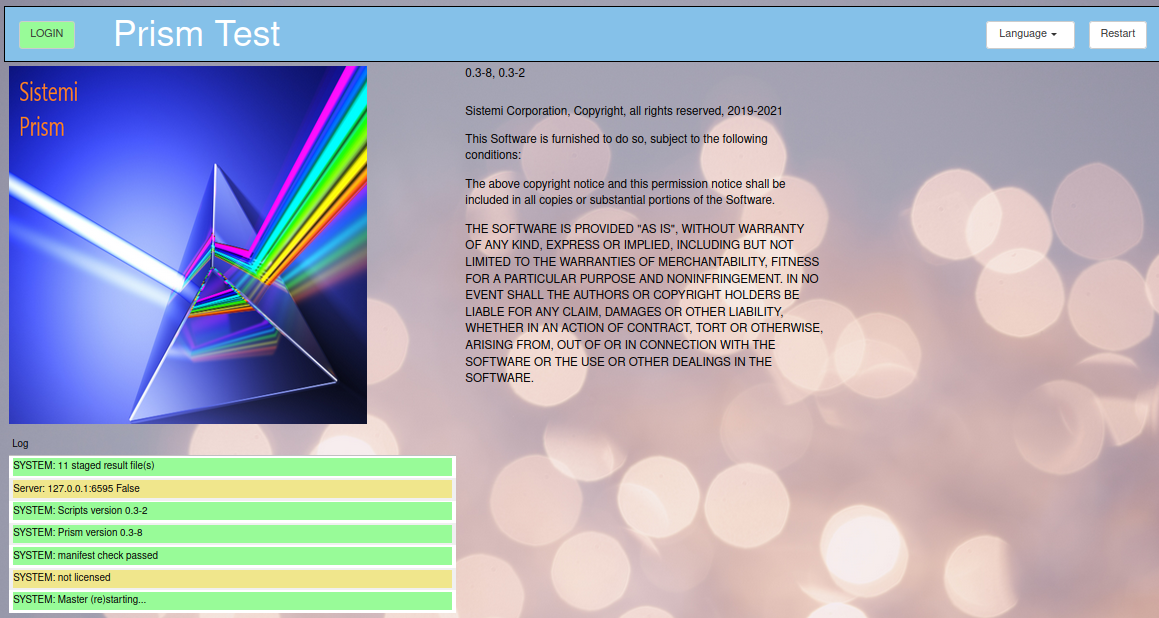
Press the Login button (upper left corner)
Prism login user/password is admin@here.com/password
Other users passwords are password
Its a good idea to bookmark this URL, and display bookmark bar in the browser.
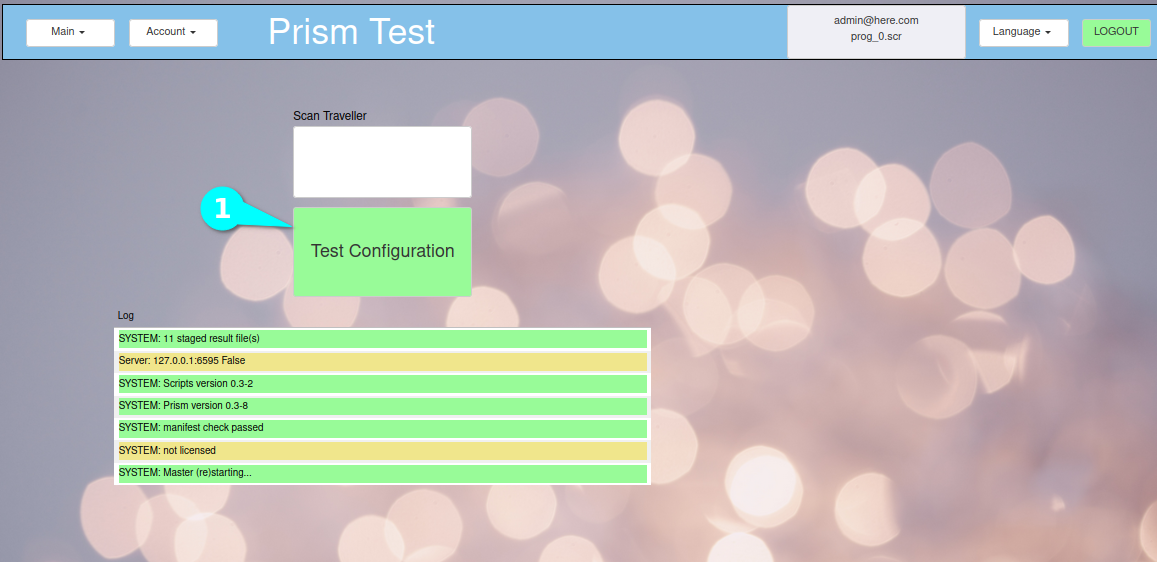
This is the Main page, the starting point to begin testing.
In real production environment, the operator would scan a traveller to configure Prism to test a product. Since this is a demo, we will select a test manually.
Select button Test Configuration (1)
Run your first script after logging in,
Select Group select Example (1)
Select Script select prod_0.scr (2)
Press button Validate (3)
If everything checked out, the Start Testing button will turn Green. (4)
The script that will be run is shown (5)
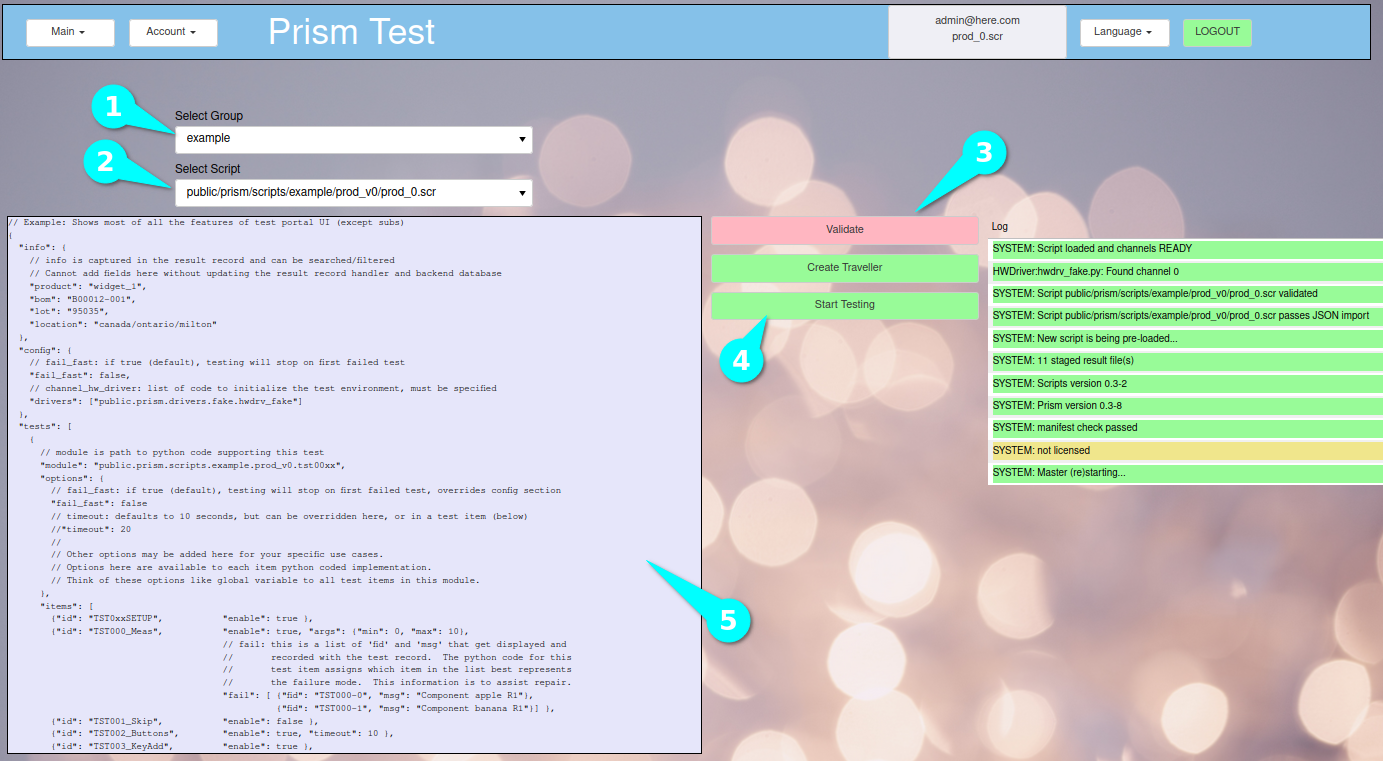
Press Start Testing (4) to proceed to the testing view.
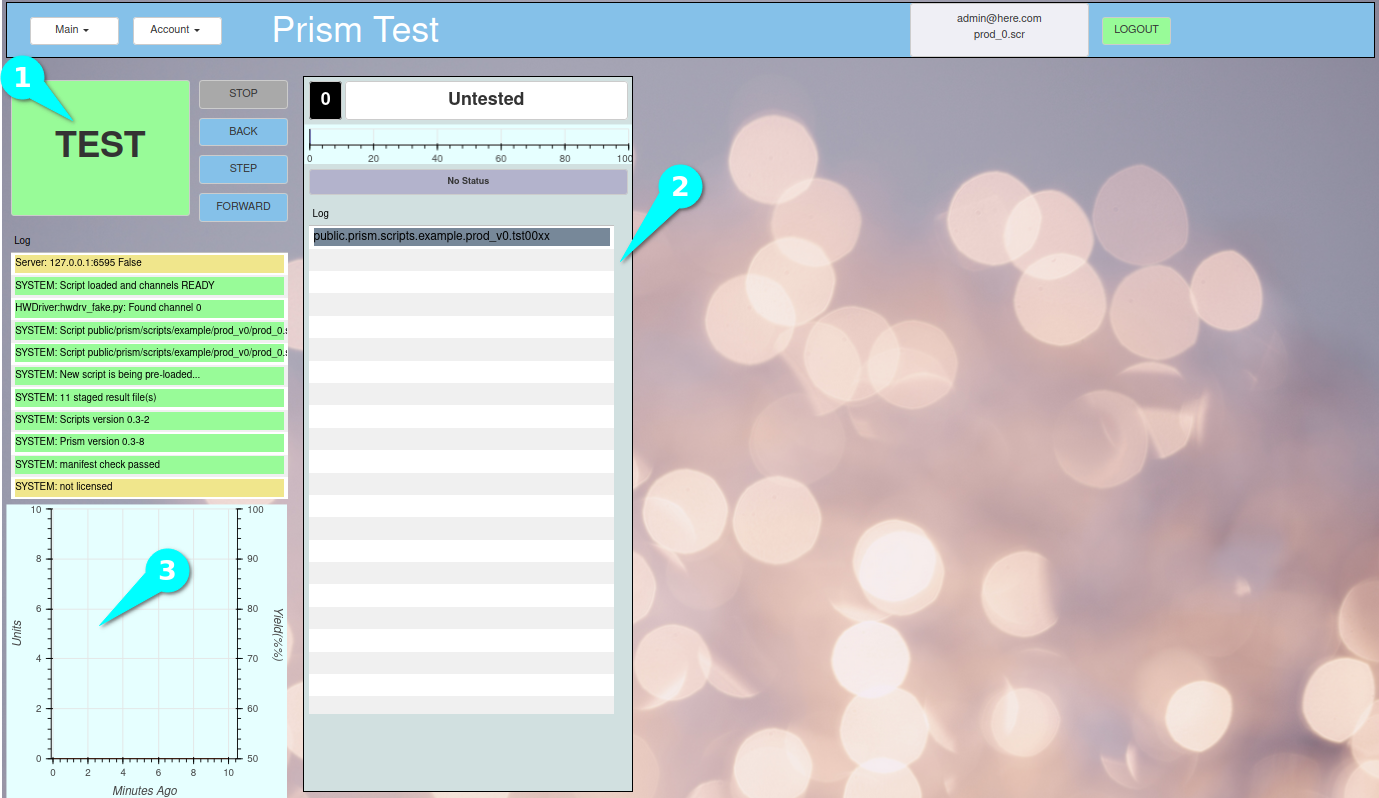
Press the TEST (1) button to begin the test.
Logging from the test will be shown in the table (2).
Historical stats of your testing will be shown in the plot (3).
Note: Example tests have delays in them for demo effect.
prod_0.scr test script, demonstrates many features
the user will be shown buttons to press, any button will pass.
the user will have to enter some text, any text will pass
this Demo shows only one active “Jig”, if you want to display more,
Access the Main menu and select Demo (Main->Demo)
Change the number of “fake” jigs between 1-4.
Go back to the Main page (Menu->Main)
Repeat the steps above to re-run the demo test.
Prism can be stopped with this command,
./prism.sh stop